Extending the growing season and providing your plants with a hardy layer of protection, greenhouses are a garden must-have that can be seamlessly slotted into any landscape.
A long-lasting and protected growing environment, greenhouses are the perfect way to encourage a more environmentally conscious and sustainable lifestyle. Filling your kitchen with nutrient-rich ingredients and enhancing your meals with flavours fresh from the garden, greenhouses go hand-in-hand with a flourishing kitchen garden, transforming your outdoor space into an idyllic area crafted for maximum productivity. Whether you intend to overwinter tender plants, grow exotic varieties or harvest a plentiful array of vegetables, then a greenhouse is the key kitchen garden tool that will help you get started. Step-by-step, come with us as we walk you through how our skilled in-house landscaping team construct complete and established greenhouses.

Step 1: Joinery, amenities and raised beds
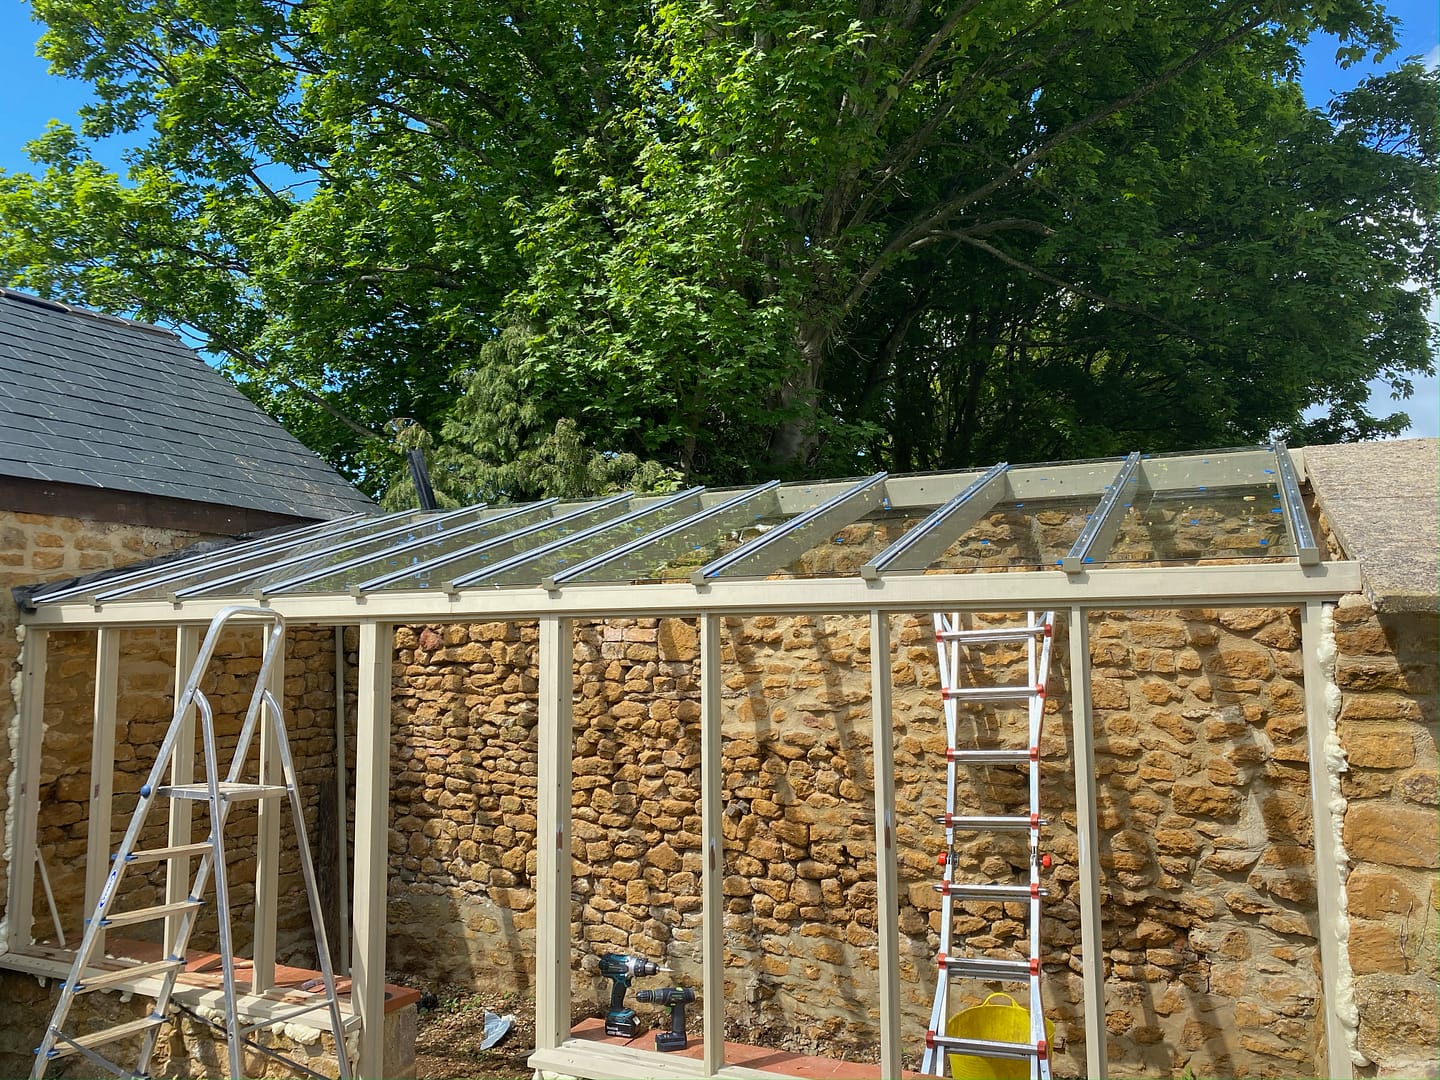
For the foundation of our glorious example greenhouse, we began by using joinery to build the framework of our glasshouse. Painted in the natural heritage shade, this hardwood joinery was used to create the whole build, from the roof rafters and windows to the doorway and overall framework.
Constructed from aluminium bars, our specialist landscaping team established an efficient glazing system using a combination of durable aluminium roof bars and crystal clear glass.
Next we fitted a series of electrical points, water taps and irrigation systems. Our team fit these services into all of our greenhouses to ensure that they are fully equipped with the required amenities needed for a prosperous glasshouse.
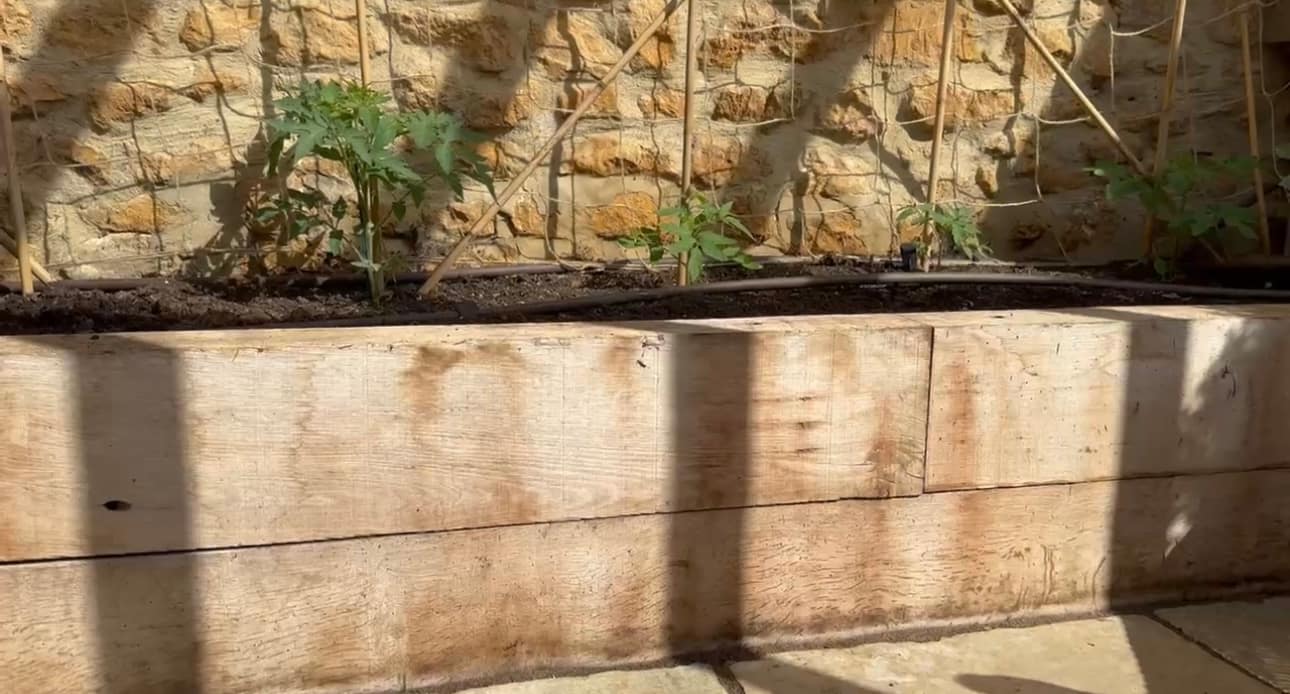
Valuable for growing vegetables such as cucumbers and tomatoes, our team hand-crafted a collection of raised oak beds to blend effortlessly into the natural palette of this greenhouse. Using jute to support tomatoes and cucumbers to climb along the backdrop of this glorious Hornton stone wall, our beds are fitted with drip irrigation systems for optimum growth and ease.
Step 2: Continued constructions and ironmongery
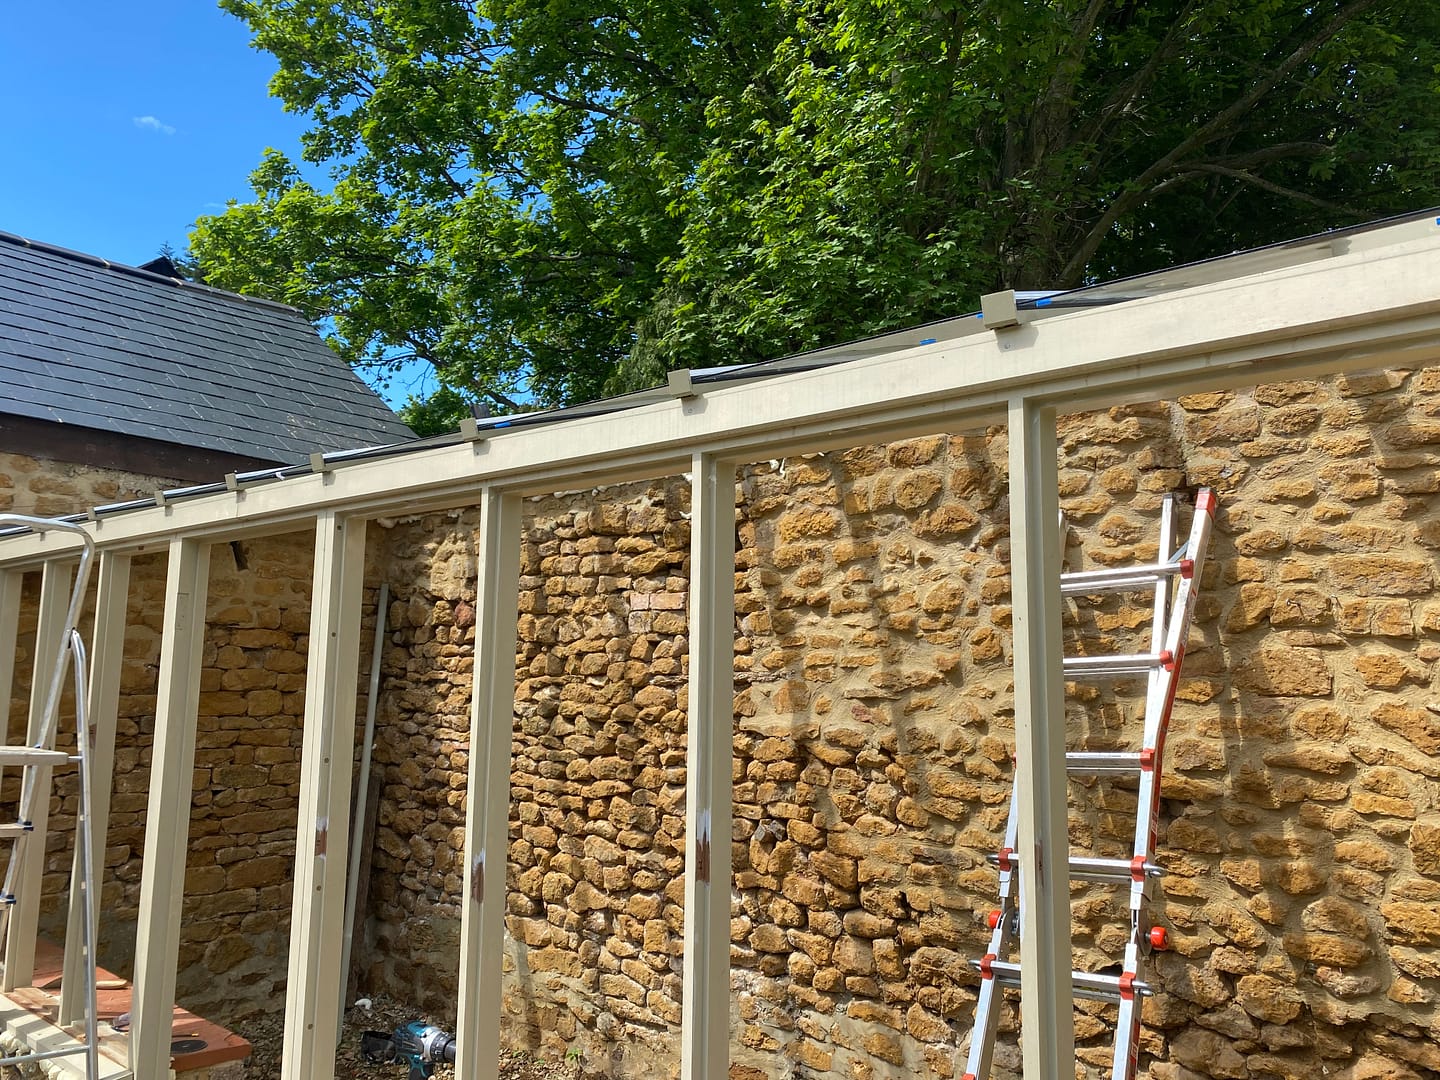
To further refresh and reclaim the existing structure that encompasses this greenhouse, our skilled landscaping team sensitively raked out and repointed this delightful heritage Hornton stone wall. The remaining framework was installed and the corresponding heritage door was hung to create a charming entrance. Applying their ironmongery skills, our masterly team put the final touches to the framework with an assortment of handles, window fittings and door hinges, to complete a beautiful growing scene.

Step 3: Limestone flagstone flooring
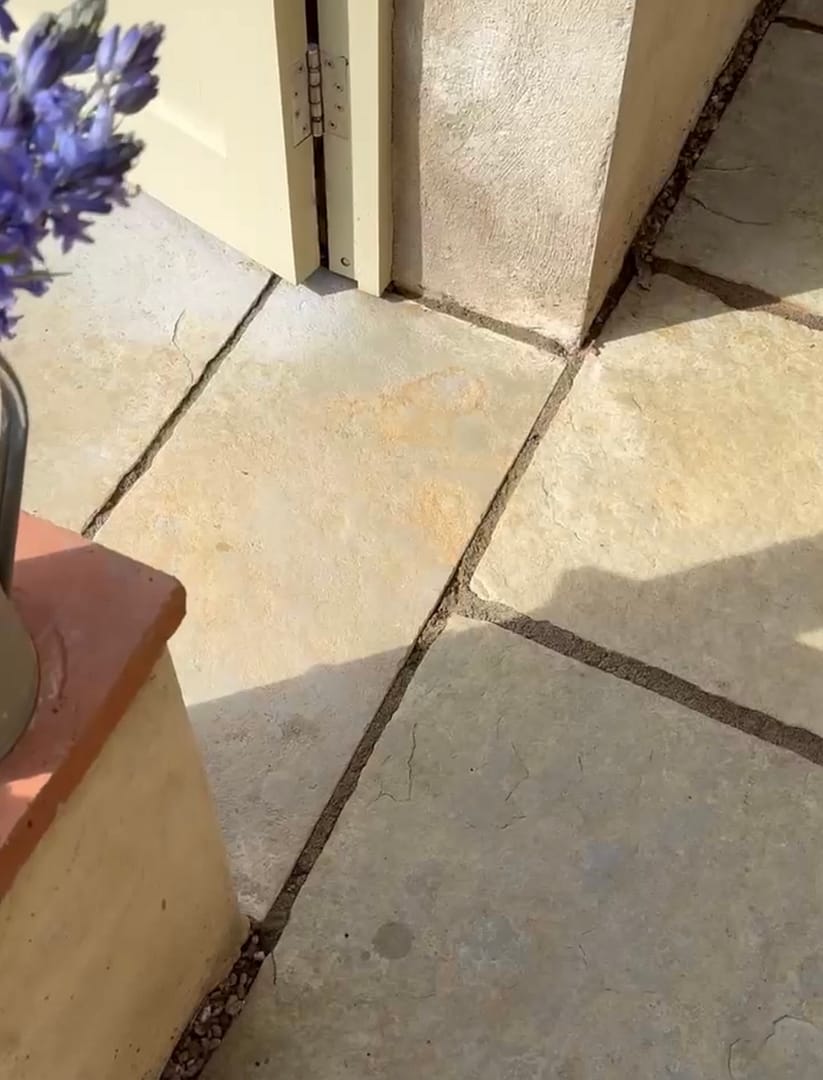
To frame a beautifully crisp interior, our landscaping team crafted a timeless limestone flagstone floor. Welcoming you into this glorious growing space, our team laid an oversized flagstone exterior apron in the entrance to softly guide you down into the glasshouse.
Step 4: Made to measure guttering
All guttering and downpipes were fitted in the heritage RAL colour specified for the project. Our team are perfectionists, so when it comes to the finer details such as corresponding colour palettes, our team ensure that all bases are covered to complete the most elegant garden scene.
Step 5: Staging
Made to measure and finished with a mid-grey treatment, no greenhouse would be complete without a series of staging spots. Creating a work surface to sow seedlings and care for your plants, staging is an efficient and practical way to stack your potted plants and makes organising your produce a breeze. A crucial step for practicality, staging is an efficient way to make the most out of your greenhouse space.

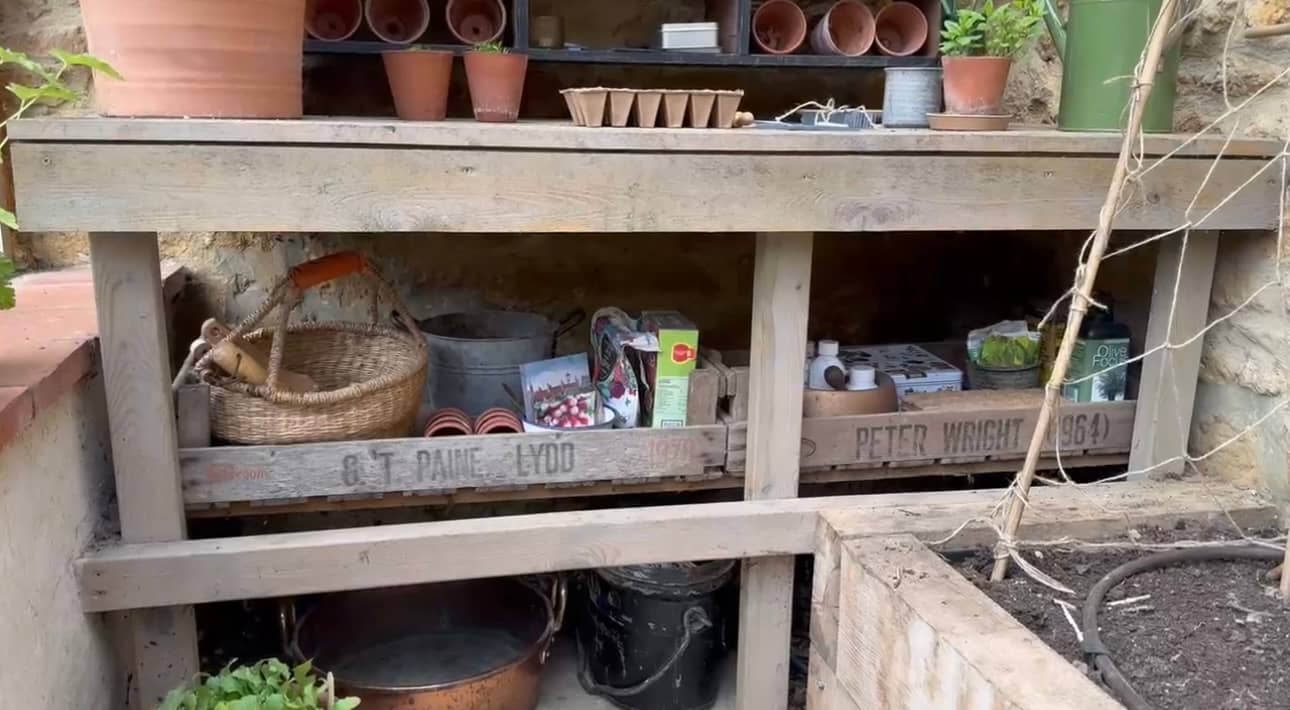
Step 6: Shelves and storage
Found beneath your work surfaces and staging spots, our designers love to utilise this space with a series of shelves and storage spots. Perfect for neatly storing away seeds, gardening trugs, tools and so much more, these nifty shelves and storage spots are a superb way of keeping your greenhouse in tip-top shape.
Step 7: Handy hooks and accessories
To add a vintage flare to our greenhouses, our design team include a series of handy hooks and accessories to put the finishing touches to our heavenly greenhouse projects. Perfect for hanging tools at an accessible and easy-to-reach height, hooks are another practical storage technique that also add a wonderful splash of decorative value to your greenhouse too.

Looking to transform your garden into a flourishing landscape? Talk to our landscape design and construction team to find out how we can create your living dream.