We are strong believers that flowering bulbs are a brilliant addition to any garden as they reserve their energy from season to season allowing them to use these reserves to develop their shoots and roots and become self-sufficient.Being planted at the right depth allows them to possess exactly what they need to survive and thrive season to season without waiting for the ideal conditions.
Our soft landscaping team and planting designers have handpicked a collection of bulbs, perfect for planting right now, that will fill your garden with joyful blooms come spring. The selection includes some of our favourite varieties of narcissi, tulips and alliums offering a choice of stunning flower colours and fragrances as winter gives up it’s grip to sunshiny spring days.
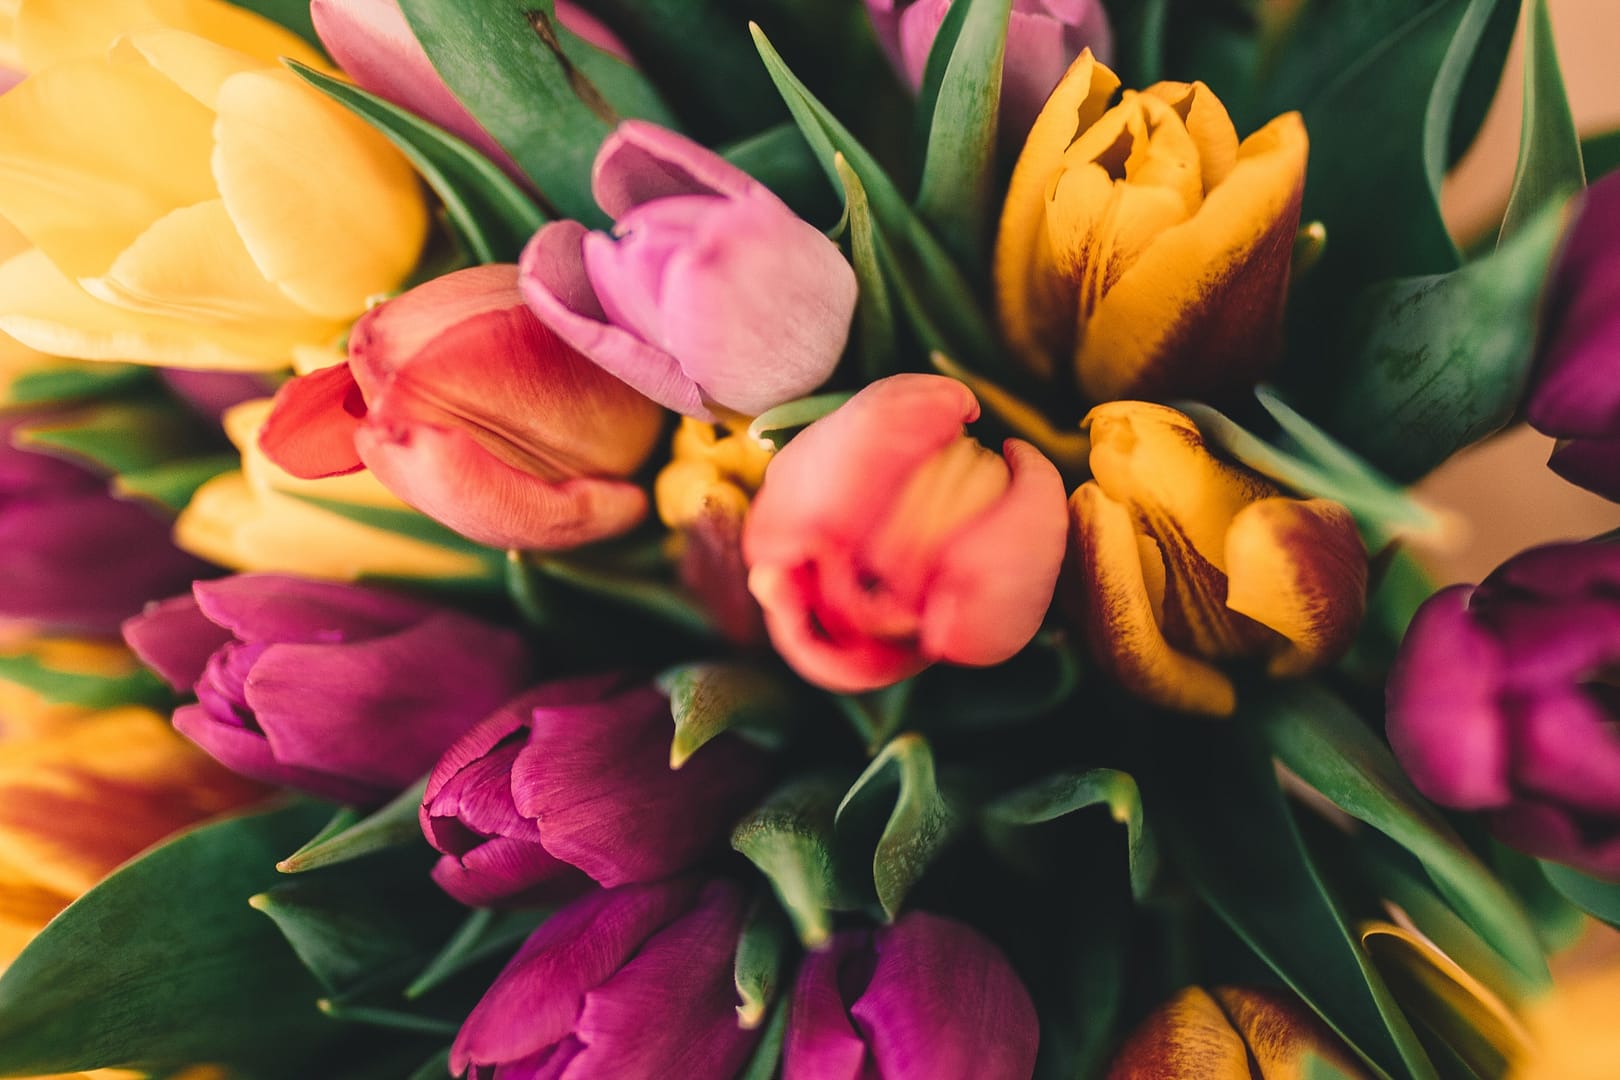
With such an incredible array available, you might like to create a mixed arrangement to enjoy a variety of colours and shapes. However, sticking to a single variety also creates a stunning effect. Tulip mascara or the black hero tulips provide a sophisticated contrast to lighter varieties, like the creamy City of Vancouver or delicate pink of Mistress. If you want to create a vibrant, flamboyant and guaranteed eye catching display for your garden the Don Quichotte, Cafe Noir and Cairo combine for a beautiful combination of pink, purple and orange.
A selection of our bulbs are perfectly packaged for easy planting and will grow well in pots or beds and borders, with varieties chosen to suit woodlands and shade or full sun. Simply dig a hole and drop in the bulb and wait for the bulbs to blossom. Either plant now in pots and keep indoors to bring a touch of the outside in over winter, or plant in the garden and wait for spectacular scenes in spring.
Read on for our step-by-step guide to planting bulbs in pots and outdoors.
Planting Bulbs – A step by step guide for both indoor and outdoor planting
Planting outdoors
When planting bulbs outdoors to achieve the best and most natural effect never plant them in a row. Aim to group them together in clumps of at least five, seven or nine as the more bulbs that are grouped together, the better the display.
Step 1 – Dig a hole which is wide enough and deep enough for your specific bulb. For tulips this would usually be around 5 inches deep, for most bulbs, you plant them at 2-3 times the depth of the height of the bulb itself. For ease when planting bulbs, you can use a dibber which will help when it comes to measuring depts for your bulbs.
If you plant your bulbs deeper it allows you to carry on with weeding without damaging the bulbs until the end of November. For bulbs such as tulips, alliums use a bulb planter to leave you with a spacious hole to plant.
Step 2 – Plant the bulbs with their ‘nose’ facing upwards. Smaller bulbs should be planted roughly four inches apart while larger bulbs should have approximately five inches separating them.
Step 3 – Gently replace the soil with your hands so that when the bulb is growing through the soil it can do so with ease. Watering straight after is not always needed if the ground is already moist, but if not water after planting.
As you have planted your bulbs ahead of time, they will be ready to spring into life ready for you to enjoy an abundance of warm colour when the weather turns, lighting up your garden.

Planting in pots or containers
Step 1 – Before selecting what you will plant your bulbs in, carefully select your bulbs so you know what size pot or container is best suited for each bulb to thrive in. Most bulbs are well suited for planting in pots or containers such as tulips, alliums and lilies which have full flowers.
Step 2 – Choosing your container or pot. At Bloomsbury Home we offer a wide range of trugs, pots and planters perfect for giving your indoor plants that extra touch of style and sophistication. Using a trug or basket is an interesting, unexpected choice, just be sure it has a waterproof lining on the inside to prevent unwanted leaks.
Step 3 – Create a base for your bulbs. Add a layer of gravel to the base to allow drainage so your bulbs don’t get flooded. Plant your bulbs in their desired depth and spacing for maximum effectiveness when blooming without overcrowding the pot or container you have chosen.
Step 4 – Gently replace the soil with your hands so that when the bulb is growing through the soil it can do with ease, and water after planting.
To discover our range of bulbs and planting essentials click the link here.


