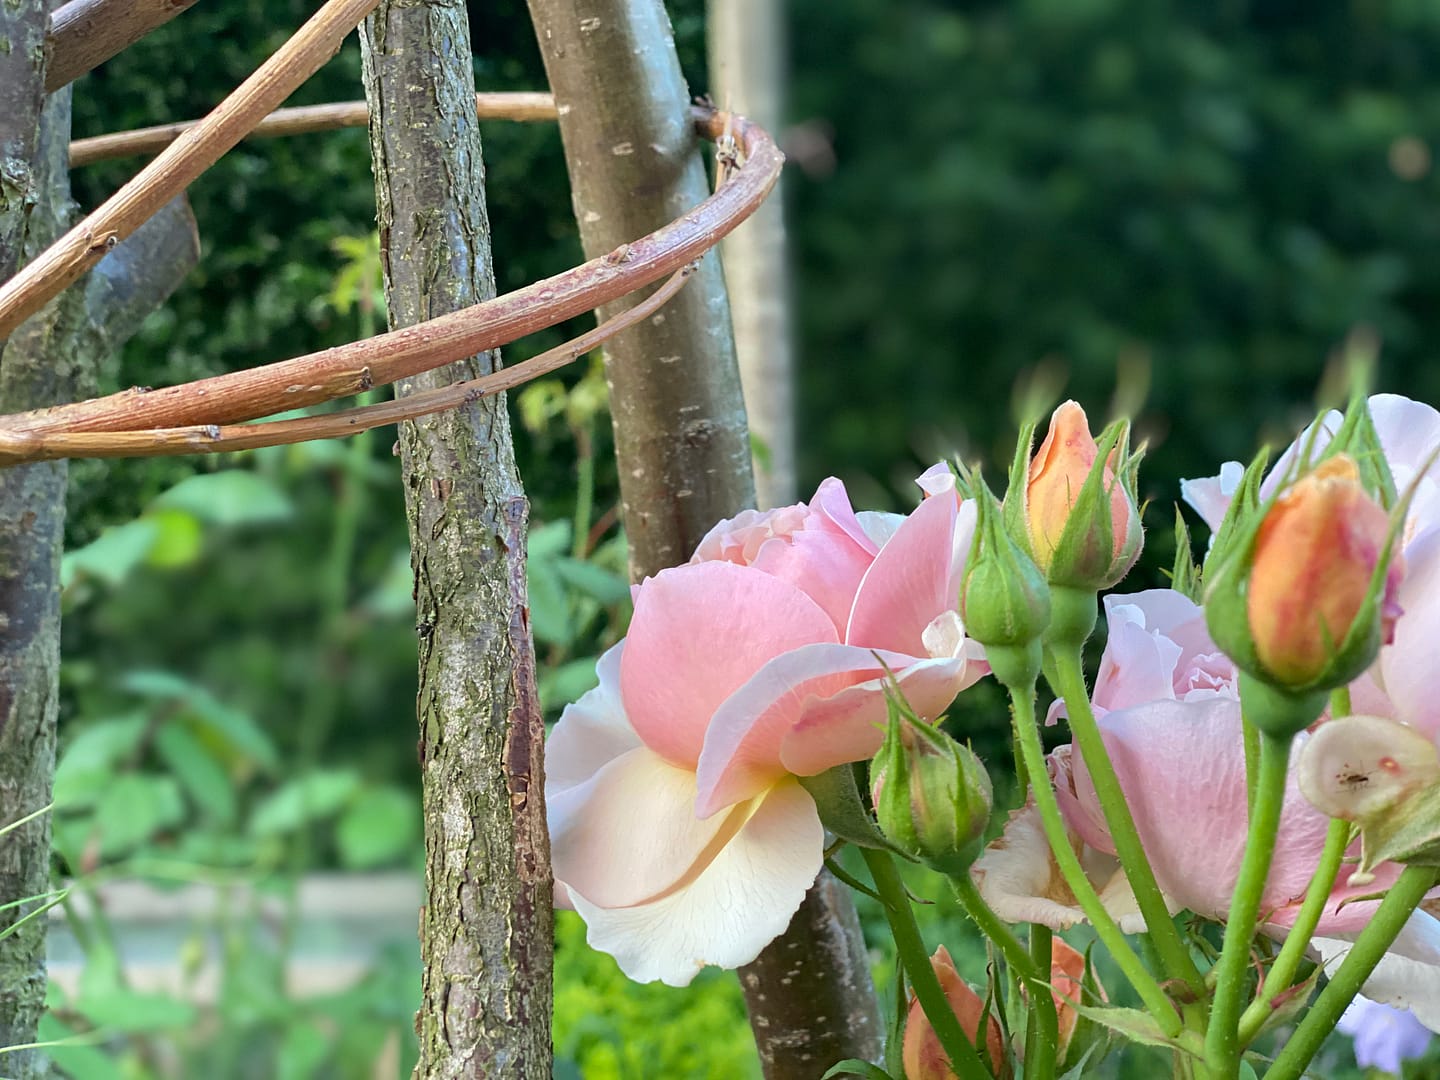
A horticultural and historic symbol of romance and love, the charming Rosa is a floral beauty that projects its radiance through flourishing flowerheads and strong stems.
Available in a variety of colours and over three hundred different species, roses are a truly divine perennial plant. Praised for their aesthetic abilities, it is no surprise that roses require expert care in order to preserve their beauty. And we want to show you how, by sharing some of our tips from our very own Oxfordshire Gardener horticulturalists. Not only are our team experienced planting new roses and trained to renovate and rejuvenate all types of established roses, they also have achieved the David Austin Rose Pruning Certificate.
Pruning is one of the key elements in keeping your roses in tip-top shape, as it both promotes the growth of new blooms but also helps the plant maintain its striking structure. Our horticulturalists advise that pruning should take place sometime between now and the beginning of the springtime (late February). So, what better time to get started than this week!
How to prune shrub roses
Do you want to know the secret to the perfect rose? The most vital trick to maintaining a shrub rose is to prune it consistently throughout its lifetime. By pruning the rose this allows the plant to regain its healthy structure in time for bloom. So pick up your trusty secateurs and a pair of thornproof gloves as we guide you through how to best prune your roses throughout their lifetime, step by step.
The young rose:
When handling a young rose in its first year, you must make sure to take extra care as the rose will still be settling into the area and burying its roots in order to ensure its stability for eventual maturation. Therefore, these young roses should be delicately pruned. The first thing you need to check is the rose is still upright and firmly planted in the ground. If not, firm up the soil first by treading down the soil to make it more compact. Now you’re ready to prune!
Firstly take away any spent blooming stems by approximately 7.62-12.7 centimetres. If you notice any other solid stems that seem to stand out from the rest of the plant’s growing form these should also be reduced.
Next, you need to take away the infamous 3 D’s of dead/dying, diseased or damaged stems. This is prime horticultural work for many plants to keep health and promote new growth. Once these are removed you can then move onto the final stage; removing any old leaves from the season. Leaving foliage on your rose can allow for disease to fester and can potentially threaten the future health of your roses.
The growing rose:
By now your shrub roses should have reached around 2 years old. At this age your roses will still be continuing to grow, establishing their strong root system, it’s now that formative pruning is what encourages and defines the plant’s future shape as it matures. As the rose is a little bit older now you should aim to leave about two thirds of each stem when cutting them away. Make a cut on the diagonal just above the node/joint. As before, continue cutting any stems that seem to stand out (known as leaders from the rest of the plant) so you end up with no straggly stems. Once this step is complete, you can then continue to prune the rose just as you pruned your previous young rose. By removing the 3Ds and any unnecessary leaves.
The matured rose:
By this stage your rose is now both established and around 3 years old. Now that your rose is more mature it allows you to be able to alter both the form and proportions more freely than previous pruning years. We find the most common misnomer is pruning roses too lightly more akin to deadheading than formative pruning. There are three ways that you can style your rose. If you desire a higher rose shrub then you should take less than one third of the stems. If you would like your shrub to stay the same size then you should make sure to leave around two thirds of each stem. But if you would like your shrub to be smaller, then we recommend taking away at least a half of the stems.
Once you have decided the shape in which you desire your rose shrub or group of roses to be you should then start following the three previous pruning stages that you have carried out at the beginning of your roses’ life. (However of course, the amount you cut back the stems now depends on what sort of shape you would like your rose shrub to be).


The established rose:
Now that your rose is over 4 years of age, you can continue to prune your shrub just as you did when it was a matured rose. This way your roses will be rejuvenated and avoid aging and getting unwieldy so they return looking more bright and beautiful every year!
How to prune climbing roses
Pruning climbing roses is a little different due to their position and structure, however our horticulturalist’s hacks guarantee to make it a carefree task.
Firstly, stand back and study the structure. Look for the new, strong shoots which will be most pliable as they are young. Gently encourage them down as you need to get them laying as close to horizontal as the sap rises to the top of the stem and produces the flowering buds so you achieve a lateral stem of flowers tying in to your support framework. Next, find those woody stems that have grown out at odd directions or have not produced anything and cut these back. Look for last years flowering stems and prune these back to approximately 15.24 centimetres from the main stem, as they flower on new growth and this encourages it. Then again as before, make your way around the plant trimming off the 3Ds to make way for new growth.
And finally before you finish, you will see a few new and healthy stems that will reward you by being tied in. We use twine or Soft-tie for tying-in these stems to the support system/framework as its extremely beneficial for the growth of the plant to be well supported without becoming damaged in the process. This handy little technique will ensure that your climbers produce a large sum of healthy blooms when the season arrives.
For the final flourish, if you’re looking to give your roses the ultimate treatment, mulch with a well-rotted manure and give your garden an extra dose of TLC.
Once you’ve finished making your final cuts, place all rose cuttings and foliage in your recycling bin (not the compost area) as this will ensure any unwanted spores that can cause disease, are removed. Also make sure to give those trusty secateurs a good clean and oil too!

What to do when planting a bare root rose
Bare root roses produce truly beautiful blooms, so we want to show you how to plant them correctly so that they continue to flourish superbly every season. As long as the ground isn’t frozen over or flooded, the best time to plant a bare root rose is between November-April (so let’s get planting!).
What you will need:
- 1 spade
- 1 fork
- Soil improver
- The bare root shrub rose (prepared in a bucket of water)
- Mycorrhizal fungi
- 1 watering can
- A pair of gardening gloves
Location:
When planting a bare root rose you want to make sure that your rose is going to be positioned in an area that receives at least 4 hours of sunlight each day. Sun is essential, however for the best results, an area that receives shade in the afternoon can also be very beneficial for the rose. When choosing where to plant your rose make sure that the area has a generous space to grow, so that the health of the roots does not deteriorate due to the presence of plants too close.

How to plant:
First of all you should begin the process by giving your rose a good drink for a couple of hours in a bucket of water with all the roots covered. You can then begin forking over the soil in preparation for your newly hydrated rose by removing any weeds and stones from the soil. Once the area is prepared you can start to dig your hole (which should be around 40 x 40 centimetres). Once you are satisfied with your hole you can then reach for your fork again and begin sifting through the soil. This action of aerating and loosening the soil with your fork allows the roots to find their way through the ground more easily.
Next you want to make sure that the hole that you have dug is big enough for the bare root rose to fit into, so the bottom of the stem is about 5cm from the top of the hole. This will give the roots below enough space to move about and grow. Once you are happy with the size of your hole you will need to add in about 2 spades full of soil improver. If you don’t have access to a soil improver then manure that is just over two years old will do just the trick. For the next step you want to begin by pulling your rose out from the water and holding it over the hole whilst sprinkling the mycorrhizal fungi all over the roots and sides of the hole.
Once you have prepared the bare root rose, place it within the hole whilst making sure that the union is a few inches beneath the top of the soil. Then begin filling in the hole with soil and once filled use your foot or hands to firm up making the soil more compact and the rose sturdy. Finally, give your rose a good water and now your plant is all nestled in and ready to grow!

Do you have a garden full of roses that are desperately yearning to be pruned? Why not get in touch with us and find out how our expert horticulturalists can help you today!